Reading Time: 7 minutes read
With just a few taps, an iPhone camera is ready to photograph almost anything. Although there’s no denying that sometimes those candid shots can be impossible to plan for, most occasions allow for ample time to choose proper iPhone camera modes to help capture amazing photographs.
To take your photography game to the next level, it’s helpful to understand what your iPhone camera is capable of. This article will guide you through the various iPhone camera modes. You’ll also learn when it’s best to use them. So if you want a deeper understanding of what your iPhone camera is really capable of, keep reading!
Photo Mode
The default mode the iPhone camera app opens in is photo mode. Simply tap the shutter button and that’s it. Moment captured. The camera automatically focused the image and adjusts the exposure of what you pointed the camera towards. Besides simply tapping the shutter button, you can also zoom into your subject and tap a specific point to focus on. If you want to keep focus and exposure in the same spot, press and hold on the screen until you see AE/AF Lock.
Live Photo Mode
Within photo mode, iPhone users have the option to capture photos that come alive when you touch them. Your iPhone achieves this by recording 1.5 seconds before and after you tap the shutter button. The result is a photo with a touch of movement and sound. Just look for the concentric circles icon in the upper right of the camera screen indicating live photo mode is active.
Another great perk of live mode is that if your initial shot wasn’t 100% to your liking you have some additional shots to fall back on. Picture that group family shot where somebody blinks at the wrong time – using the live feature can allow you to edit and find a shot where everyone looks picture perfect.
Burst Mode

Another excellent feature is burst mode. Burst mode is the best way to capture action photos. Your iPhone takes multiple high-speed photos leaving you with a range of photos to choose from. It’s the best alternative to asking your subject to do something again and again to get the one shot right. Shots are taken in fractions of a second and you’ll be surprised at the detail you capture with burst mode.
To capture burst photos, simply touch and hold the shutter button while your subject is moving. Let go and then discover the variations captured by tapping the thumbnail. On some iPhones, press and hold the volume up button to take burst shots. It’s important to note, burst mode can fill your photos app as multiple shots are taken in seconds. If storage space is tight, tap the thumbnail and delete those that didn’t work. Here’s more on capturing burst mode photos.
Portrait Mode

One of the more popular iPhone camera modes is portrait mode. With portrait mode your iPhone camera creates a depth-of-field effect. This effect lets you compose a photo that keeps your subject sharp while blurring the background. The camera app lets you know when you’re too close, too far away, or if the area is too dark. You can also use True Tone flash, set a timer, and apply filters.
Once a photo is taken, use the built-in editing features to crop the photo and auto-enhance. To better understand how your camera works, take a look at your iPhone camera settings.
Square Mode
Square mode limits the frame of your camera screen to a perfect square. This is one of the more ideal iPhone camera modes for use in many social media apps as you don’t need to do any additional cropping. When you take a photo, the frame shows you exactly what you might see in your favorite social media platform. This iPhone camera mode creates a symmetrical shape and can inspire further creativity when you’re shooting as you’ll be more meticulous about what you want to include in the frame. If you’ve got a lot of followers hungry for content, square mode is a great option.
Pano Mode

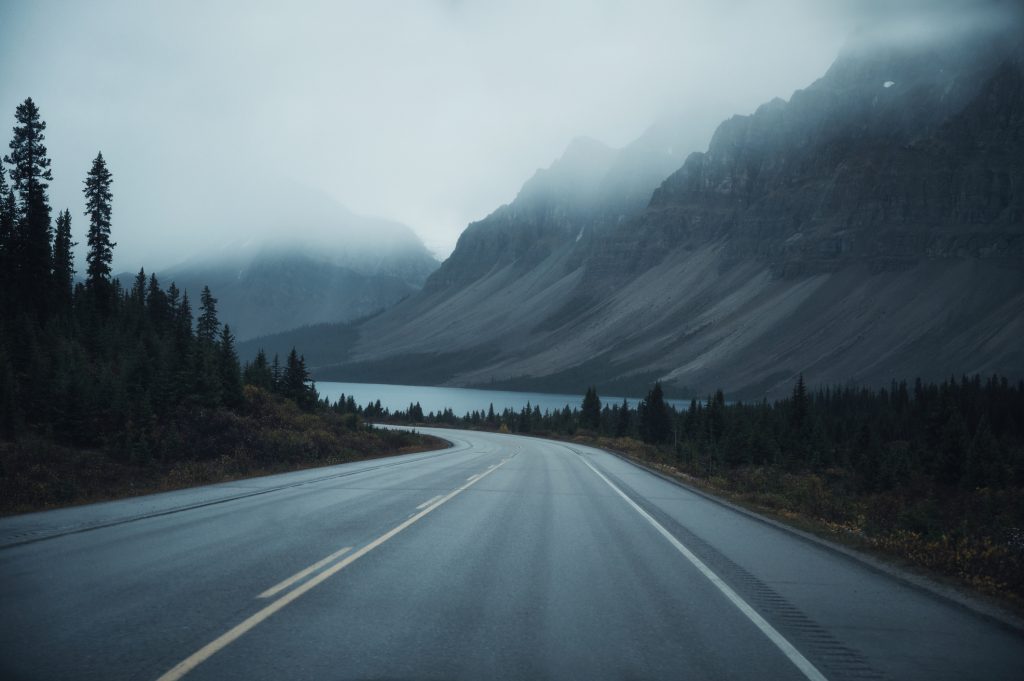
Panoramic mode, or “pano” for short, is a great iPhone camera mode used to capture wide swaths of subject matter. Pano mode is the ultra wide-angle setting that enables you to capture breathtaking landscapes. It’s also really helpful when you don’t have any room to back up to get everything in frame. Capture everything easily using pano mode.
There’s a guide bar in the middle of the screen to help you take your photo and a helpful arrow that lets you begin the photo from either the left or right. If it’s pointing left, begin at the right, tap the shutter button and slowly move your camera in a straight line to the left. Or reverse that process if the arrow is pointing right. Try to keep the arrow on the yellow guide bar. A tripod will stabilize your camera and produce sharper images.
Night Mode
Night mode automatically turns on when your camera detects a low-light environment. It’s special icon at the top of the display turns yellow when the feature is active. Your iPhone might take a night mode photo quickly or several seconds depending on how dark the scene is.
Holding your iPhone steady until the capture completes will produce better results. Place your iPhone on a solid and secure surface, or use a tripod to increase stability and control of the exposure clarity. With iOS 14, if your iPhone detects movement when you’re trying to capture a photo, simply align the crosshairs in the frame to help you reduce motion and improve the shot.
HDR Mode (High Dynamic Range)
Sometimes, we find ourselves in a moment that involves high-contrast lighting like overcast skies, sunrises, and sunsets. Manual adjusting or even automatic adjustments are failing to get the correct exposure. Similar to how burst mode captures more photos when your subject is moving, HDR mode takes three photos with different exposure levels. The first is normal exposure while the other two are brighter and darker. Then, your camera composes them together to create a vivid image with proper exposure. This happens faster than you can say exposure. Use the iPhone HDR mode if you’re looking to create dynamic images with striking depth, landscapes due to their contrasting elements often work well with this type of photography. So next time you’re on vacation and you want to take landscape photos with a little something extra, HDR mode is well worth a try.
Get Comfortable With All the iPhone Camera Modes
The camera modes built into your iPhone, iPad, and iPod touch help you take the best photo or video. Wondering how you change the iPhone camera modes? A simple swipe left or right on the camera screen lets you switch from mode to mode. Some modes are found within others, but exploring the variety of modes is the perfect way to maximize the performance of your camera. And if you’re curious what the best iPhone camera settings are, it depends fully on the environment you’re in. Shooting some group shots? Then panoramic is better suited. Going to a concert at night time? The night mode is definitely the way to go. However, like any type of photography, you’ll become more confident with practice.
The better you understand what each mode excels at, the better the photos you’ll end up with. Before long, you’ll find yourself automatically switching to the proper iPhone camera modes for every photo you take. Your photos will amaze not only you, but everyone you share them with.
Your improved iPhone photography skills only lead to more photos so why not share them with the world via a printed photo book that showcases your talent for iPhone photography? Then they can be easily enjoyed at anytime.

Create a photo book in just a few minutes. From your iPad and iPhone, simply download and open the Motif Photos aCreate a photo book in just a few minutes. Using your iPad or iPhone, simply download and open the Motif Photos app and choose the photo project you want to create. On your Mac, simply download and install Motif. Motif magically places your best photos into stylish layouts while you can add your own personal touches.Motif prints and ships your project to your door so all that’s left to do is relax and enjoy your one of a kind photo book