

Reading Time: 6 minutes read
If your idea of travel is leading you past an official border, you best remember to see if your passport is up to date. In the past, the rules regarding passport photos limited where you could have one taken. Now it’s possible to take them yourself. But don’t get too excited, there are still rules that must be followed for your photo to be accepted in your application. Winks, favorite hats, and smiles are still not allowed, but you don’t have to go anywhere to make a diy passport photo.
This story will tell you all you need to know about how to take a passport photo from the comfort of your own home.
Expert Tips for a DIY Passport Photo
Should you enjoy going to a copy center or passport photo studio, read no further. If you don’t, we have the essential tips to let you handle this serious travel item yourself. Before the end of this article you’ll have everything you need to know about taking a proper passport photo.
Step 1: Choose the right camera
You might be asking yourself, “can I take a passport photo with my iPhone?” You sure can. In fact any device that captures photos, whether it’s a phone, digital camera, or tablet will do. Taking a selfie that will pass all the requirements of a passport photo can be very challenging. For this reason, a friend to take the picture is also recommended. If all your friends or family members are busy you might consider mastering the timer feature on your device or even employing a remote. A trusty tripod is also a great investment to ensure steady, sharp photography.
Find a plain background and the right position
Due to the restrictions of passport photos, it’s important to use a plain, light grey or cream background. Tiled walls or patterned wallpaper should be avoided and make sure there are no objects in the frame.
Then, position yourself 3 to 5 feet away from the person taking the photo, and a foot or so from the wall.
Step three: Ensure there is space around your head and shoulders
Do not crop your photo closely. Why? Well, the Passport Office will crop your image once they’ve received your application. Check the space around your head and shoulders for sufficient room around them.
Step four: Check the lighting
Everyone knows the best lighting is natural lighting. So, if possible, position yourself facing towards a window – a great source of natural light. Position yourself so there are no shadows on your face or behind your head, and the light is even. Avoid standing too close to a lamp, as this will light one side of your face more than the other.
Step five: Remove headwear
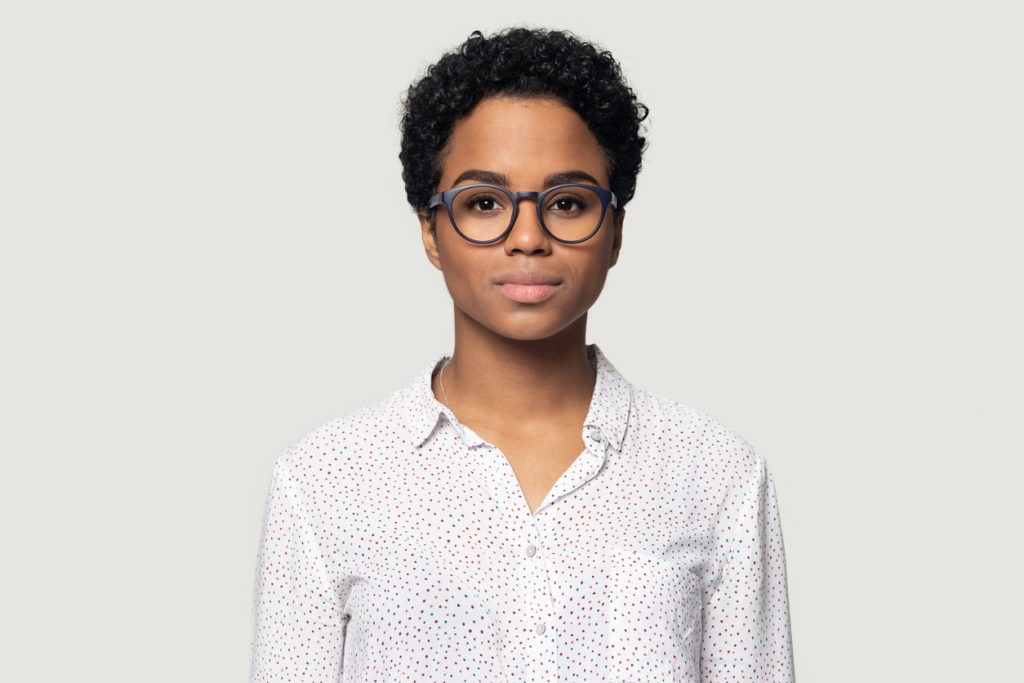
Photos with favorite hats or bonnets will not make it through the passport processing. Take off any headwear unless it’s worn for religious or medical reasons. Anything that may obstruct your photo, like hair clips or glasses on the top of your head should be removed.
Step six: Make sure your face and eyes are visible
Make sure your entire face is visible in the photo, so tie your hair back if it covers your face or eyes in any way. If you have a longer fringe, it may be best to sweep it to the side.
Pose in a way that ensures there are no reflections in your glasses. These can obscure your eyes. The Passport Office recommends removing glasses but if you must wear them, take care to avoid glare on the lenses. It’s also worth noting that sunglasses and tinted lenses are not permitted.
Step seven: Don’t smile!

This isn’t a drivers license or vacation photo. Look straight at the camera with a neutral expression. Close your mouth and refrain from smiling.
Once you’ve taken your photo, check that the image is clear and in focus. Look for a shot with no red-eye. You shouldn’t make any edits to your image using computer software.
And there you have it. How to take a good passport photo at home in seven easy steps. For more information about passport photography, visit your national passport office website. In the United States, click here.
iPhone Passport Photo FAQs
Should your knowledge of passport photo taking be fairly strong, here’s a few FAQs to fill in a question or two you might want to know.
Can I take a passport photo with my iPhone?
Short answer, yes. The quality of photos taken with newer iPhones rivals just about any camera.
How do I take a passport photo at home without shadow?
If possible, situate yourself directly facing a window. Direct natural light provides the best passport photo lighting. Avoid the lamps as they’re often sources of shadows.
What size should a passport photo be?
It’s helpful to know how to take passport size photo from iPhone. You should submit a high resolution photo that isn’t blurry or grainy. The correct size of a passport photo is 2 x 2 inches.
Within that size be sure your head is between 1 and 1 ⅜ inches from the bottom of the chin to the top of the head.
Can I have a filter on my passport photo?
Putting a filter on your passport photo can cause it to be rejected. Avoid any filters in this type of photography.
Can you smile for a passport photo?
It’s recommended that you don’t. Keep a neutral facial expression. This is not a “say cheese” photography moment.
Travel Photos with Motif
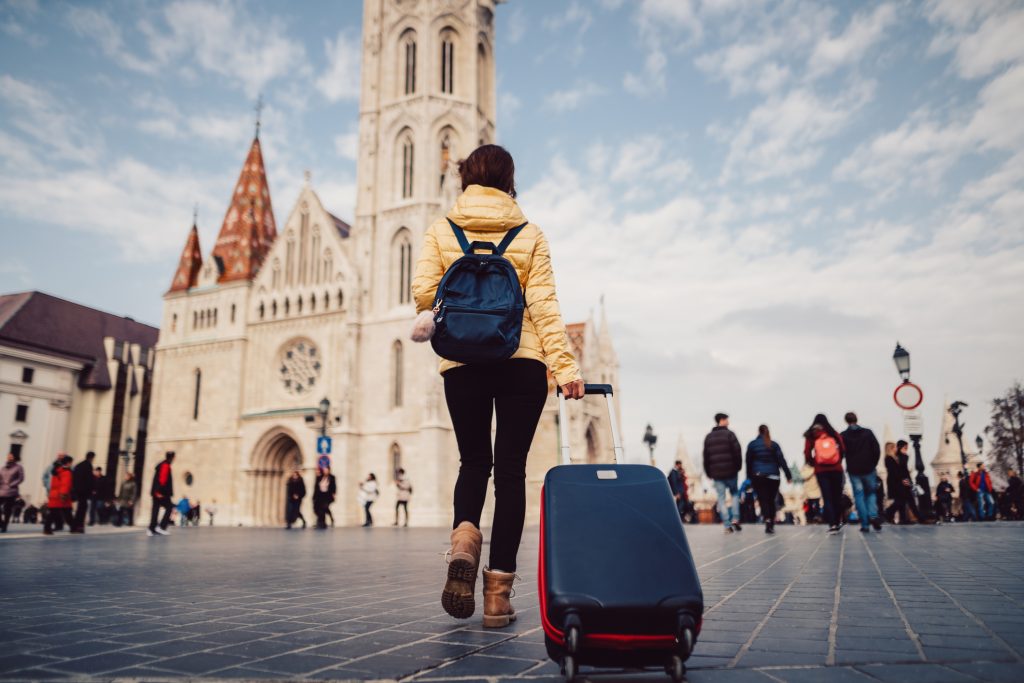
Your passport is your key to traveling the world. A good passport photo will literally take you places. A bad photo will lead you back to the beginning of how to take a passport photo. Again. We hope this information will lead you to destinations unknown or favorite known places filled with friends and family.
And while you’re visiting these places, don’t forget to take plenty of photos. Lots and lots of photos with interesting backgrounds, smiling faces, and as much or little natural light you prefer. The only pro tip we suggest is printing your favorite photos to remember and cherish.
Bring your best photos to life with Motif.
Experience how easy creating personalized photo projects is with Motif. Our photo project app seamlessly works with Apple Photos in macOS and iOS. We do all the complicated stuff leaving the fun creative freedom to you.


