Reading Time: 7 minutes read
Printing to PDF is an easy way of saving information in its original layout. Thinking of it as “printing” helps explain the feature. Although you’re not physically printing anything, printing to PDF saves a file that looks exactly like what would have come out from a real printer.
The major advantage of printing to PDF is that it makes it easy for your files to be saved and/or shared with someone else. You don’t need special app functionality for exporting to PDF – you’ll notice that Print to PDF (which is also sometimes known as Save as PDF) is usually included by default.
In this guide, we’ll explain just how easy printing (or saving) to PDF on iOS or macOS can be.
How to print to PDF on iPhone or iPad
Every app on your iPhone or iPad that supports printing will also let you print to PDF. Although this is simple once you know how to do it, it’s not always immediately obvious. That’s why we’ve put together this simple step-by-step guide.
For our example, we’re browsing a web page within Safari. You’ll be able to follow the same steps in all apps that support printing.
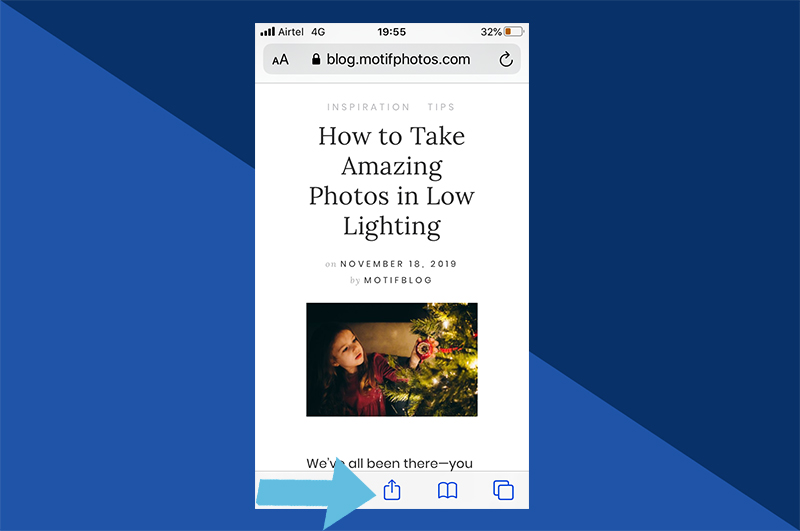
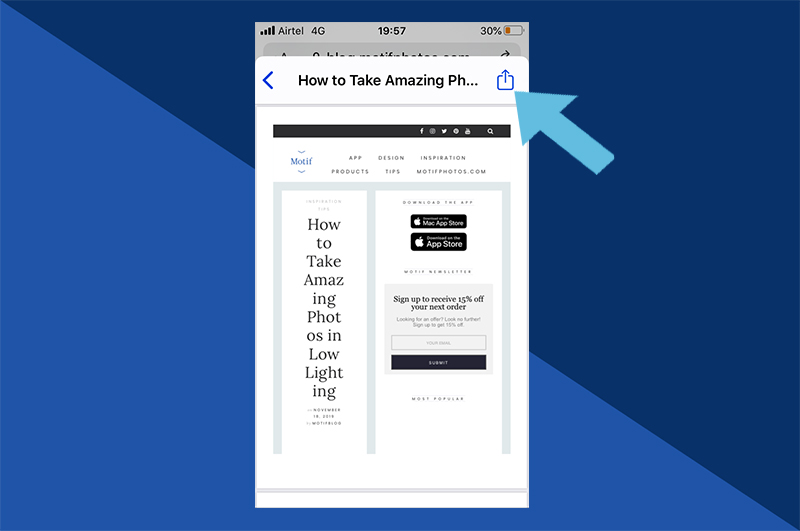
1. Tap the Share icon.
This is the box with an arrow pointing upwards. In Safari, you’ll find it at the bottom of your screen.
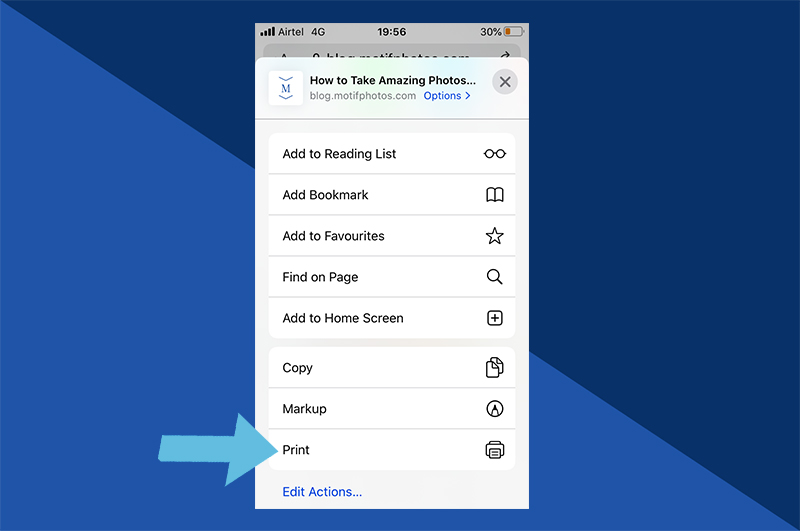
2. Tap print
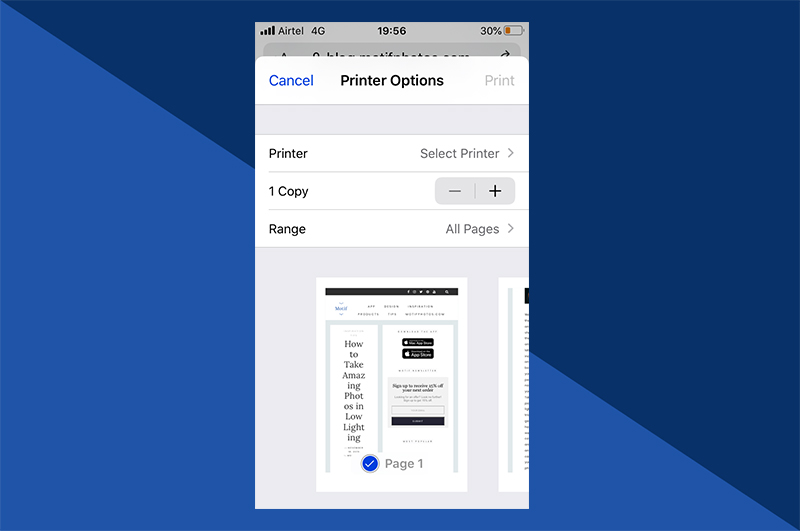
3. View preview
You’ll see a small preview first. To take a closer look, use the pinch-out gesture on the preview. Alternatively, you can take advantage of the 3D Touch feature on iPhone 6 or above by tapping and holding your finger down on the document preview to ‘peek’ – then, just press harder to view the document in full.
4. Tap the Share icon at the bottom left of the screen
Once you’re in full preview, you’ll be able to see this option.
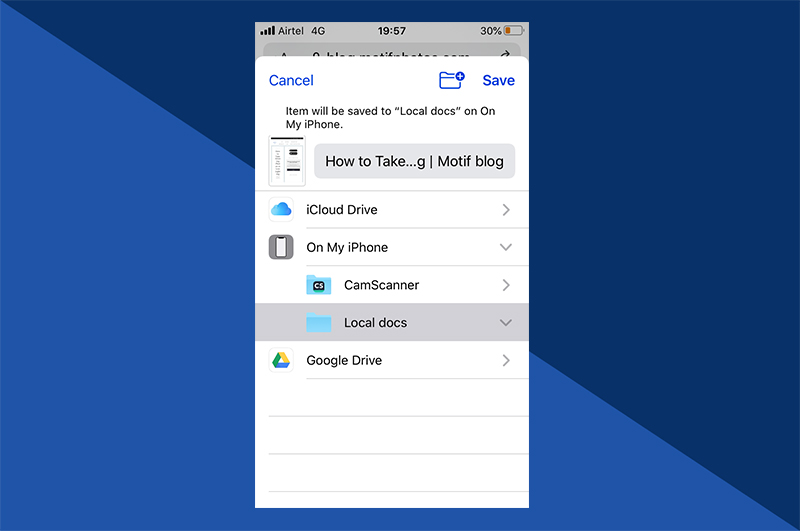
5. Choose where you want to save the PDF
Select whether you’d like to save this to cloud, send via email, or save to another app that is compatible with PDF files.
How to print to PDF on Mac
Using macOS, you can Print to PDF from any app that supports printing. For this example, we’ll once again show how to save a web page within Safari.
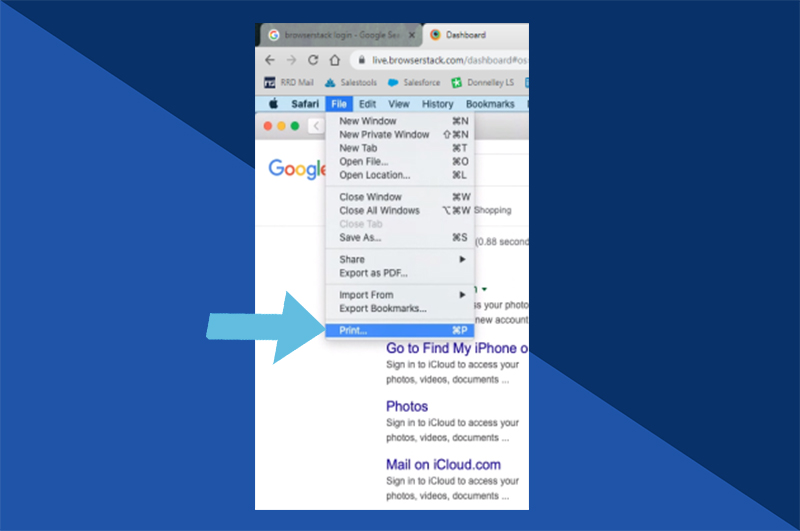
1. Click File in the menu bar
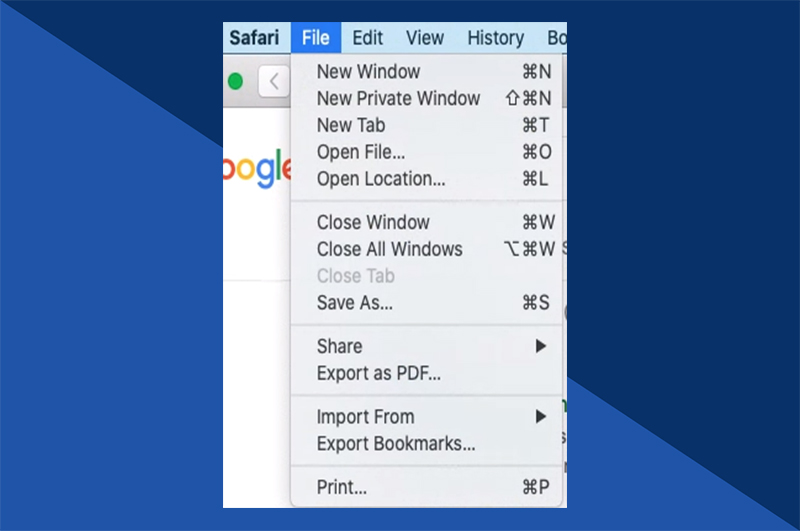
2. Click Print
3. Preview
Consider the formatting and margins, just as you would for a normal physical print job
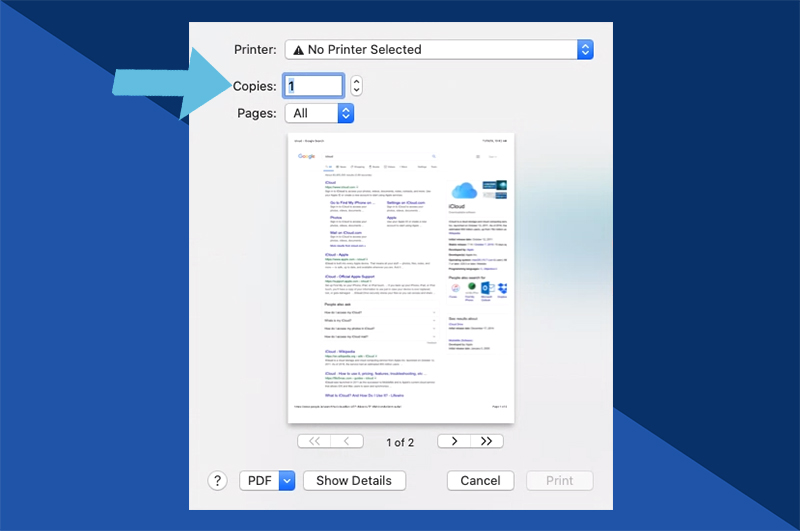
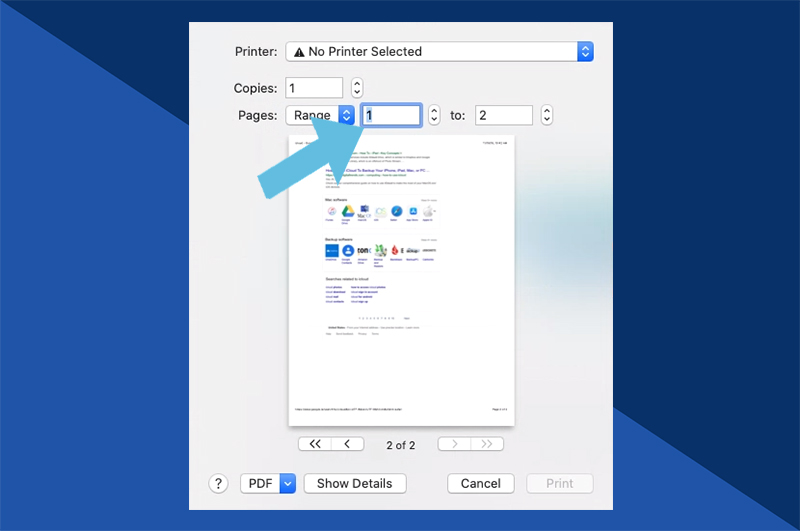
4. Make any adjustments needed
Select your desired page range, colour style (i.e. monochrome), how many pages per sheet etc. Every change you make here will be reflected in the PDF you save.
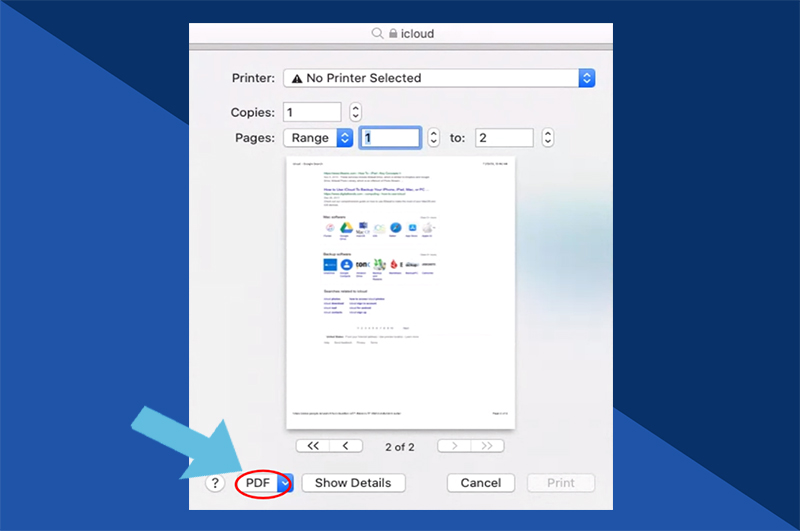
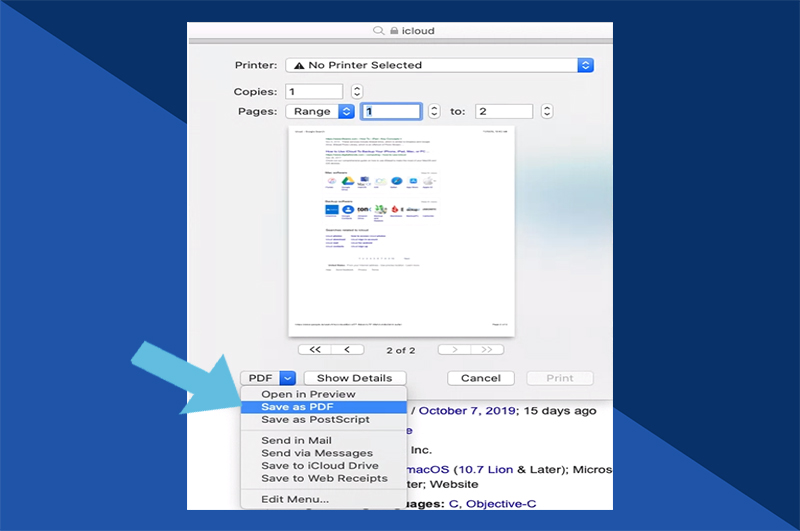
5. Press the PDF button
You’ll find this in the lower-left corner of the window. Clicking this will reveal a sub-menu of options.
6. Click Save as PDF…
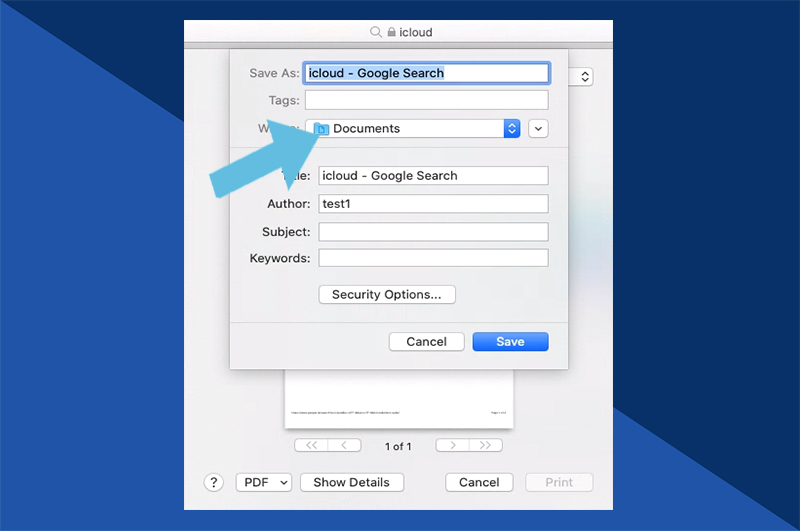
7. Choose a location to save your file
Once you’ve done this, your PDF is saved in your chosen location. If you’re printing to PDF for the purpose of uploading to iCloud, emailing as an attachment, or sending via iMessage, you can save some time by selecting these alternative shortcut options at Step 6.
Considerations when creating PDF in different browsers
The examples we have given have been based on Safari. If you’re using another browser or app, the share button may be located in different locations.
However, as long as the app supports printing, you’ll be able to follow similar steps.
If the app you’re using does not support printing, an alternative is to take a screenshot. If you’re unsure how to do this, Apple offer guides on how to take a screenshot on a Mac, or how to take a screenshot on your iPhone, iPad, or iPod Touch(covering different models where methods will vary). This will save what you see on your screen as a photo which you can then send or share.
Use Apple Markup to sign PDF documents
Once you have saved your file as a PDF, you have the option to edit this in Markup
One of the most useful things you can do to PDFs in Markup is sign them. This is very convenient for legal documents – no need for a physical contract.
To sign PDF documents with Apple Markup:
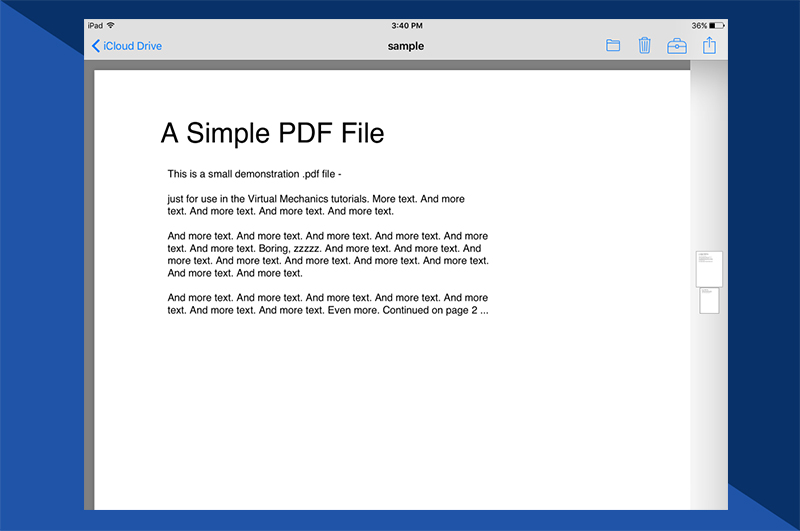
1. Open the PDF
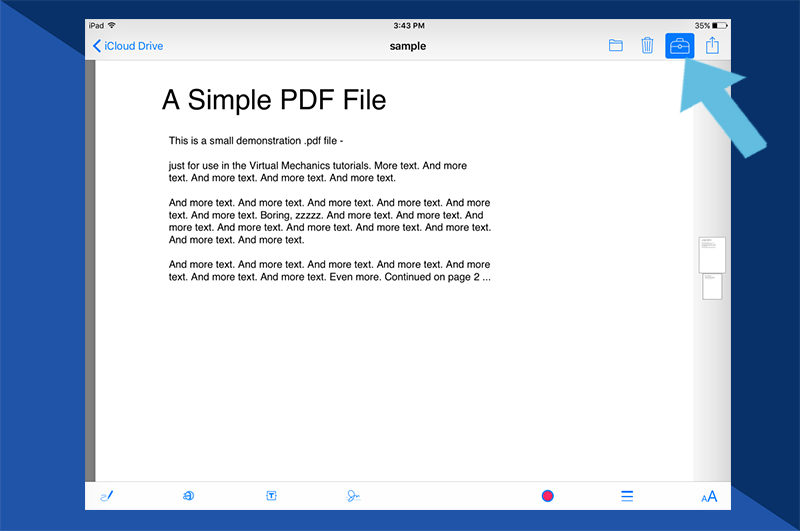
2. Tap Markup
This is the logo that looks like a pen.
3. Tap +
You’ll find this at the bottom of the Markup interface.

4. Tap Signature
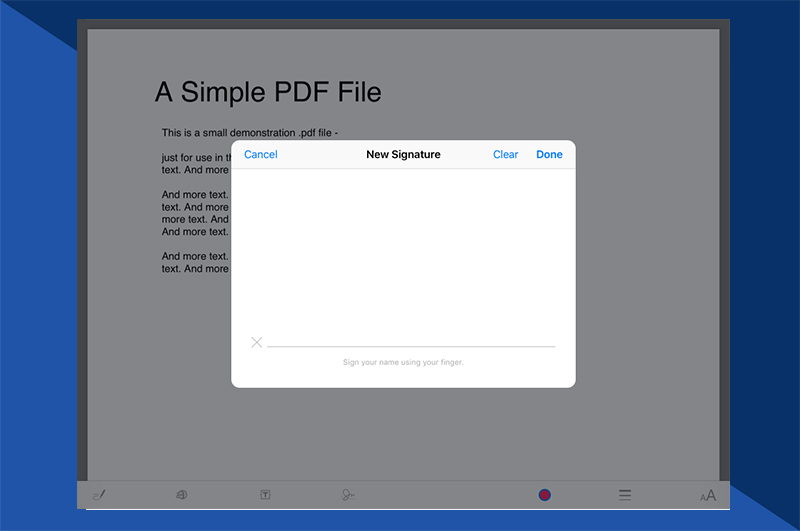
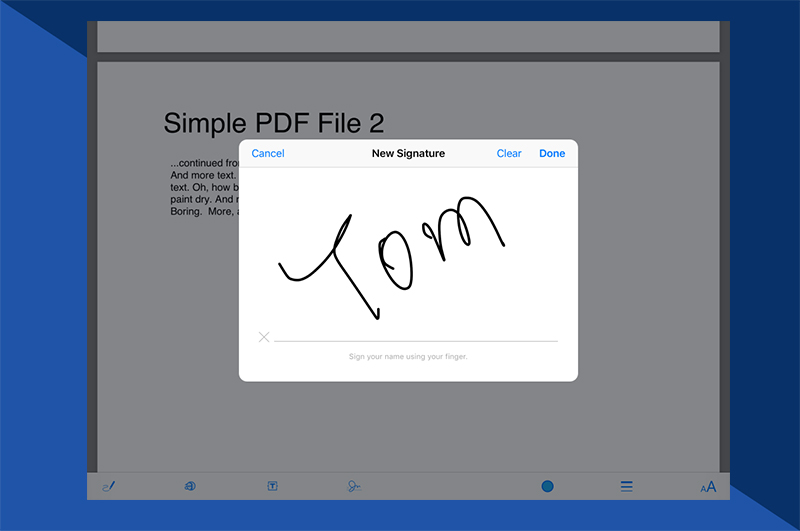
5. Sign your name, or choose from saved signatures
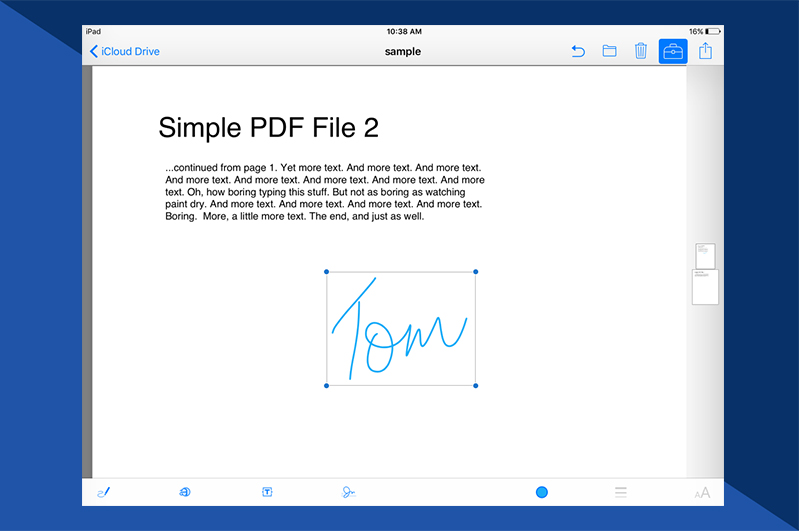
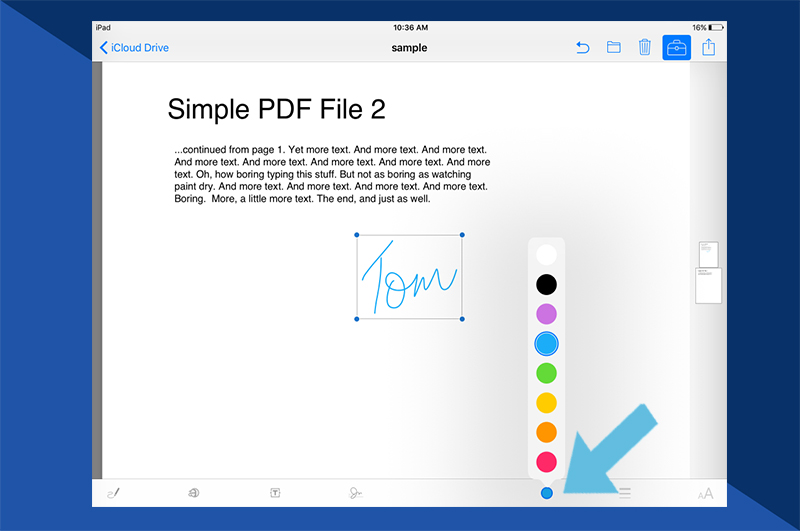
6. Perfect your signature’s placement and color
Move it into place by dragging, or resize by stretching or pinching the blue corners. If you want to change ink color, just tap the signature and select one of the color circles that will appear.
7. Tap Done
If you’re interested in learning more about the potential of Markup, visit our guide on how to edit photos using Markup