Reading Time: 2 minutes read
Whether you’d like to add simple captions to the images in your photo book or include full recipes in the family cookbook you’re creating, Motif makes it easy to add text to your photo projects.
Here’s how to add and customize text to your projects:
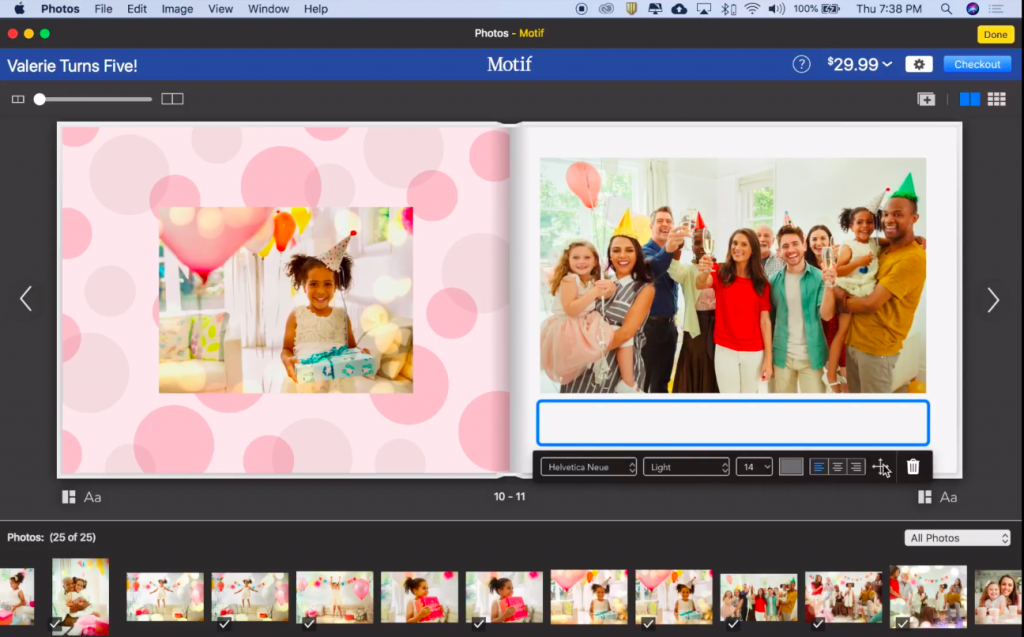
1) Create a new text box
To do this, simply click the text box icon. You’ll find this icon below the page layout. It is a square graphic with the letters “Aa” to the right of it. Click it, and a text box will appear along with the text editing palette. Your image will be resized to allow for the text box to fit.
2) Paste in or type in your text
To make your text more visually interesting, you can use the formatting options. You can change the formatting, size, color, weight, and font of your text.
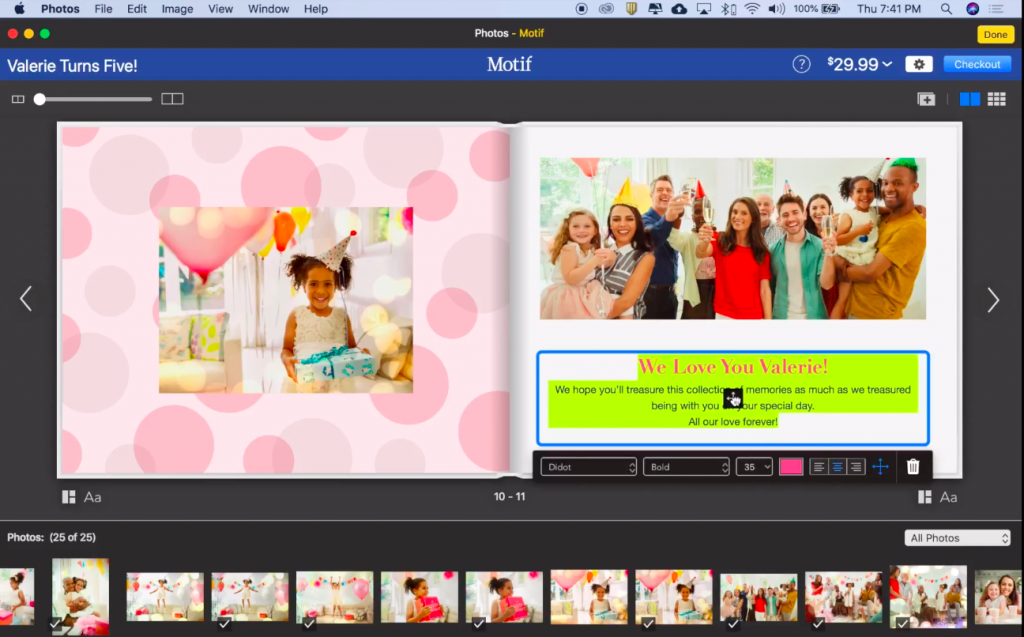
Motif gives you some help in the color department: when viewing the color options, it will suggest shades from your project theme. However, if those options aren’t right for your project, just select “custom color.”
3) Finally, you can move the text
If you’d like to shift your copy to another area of the page, or to a separate page entirely, just choose the move tool that appears when you select the text.
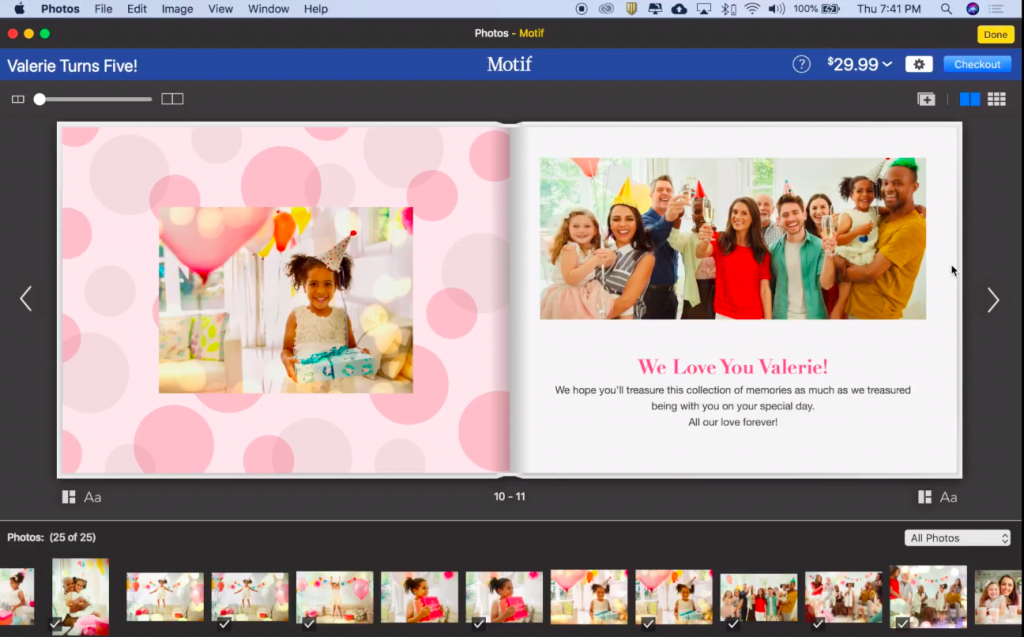
That’s it! You’ve mastered the basics of editing your text within Motif.