Reading Time: 9 minutes read
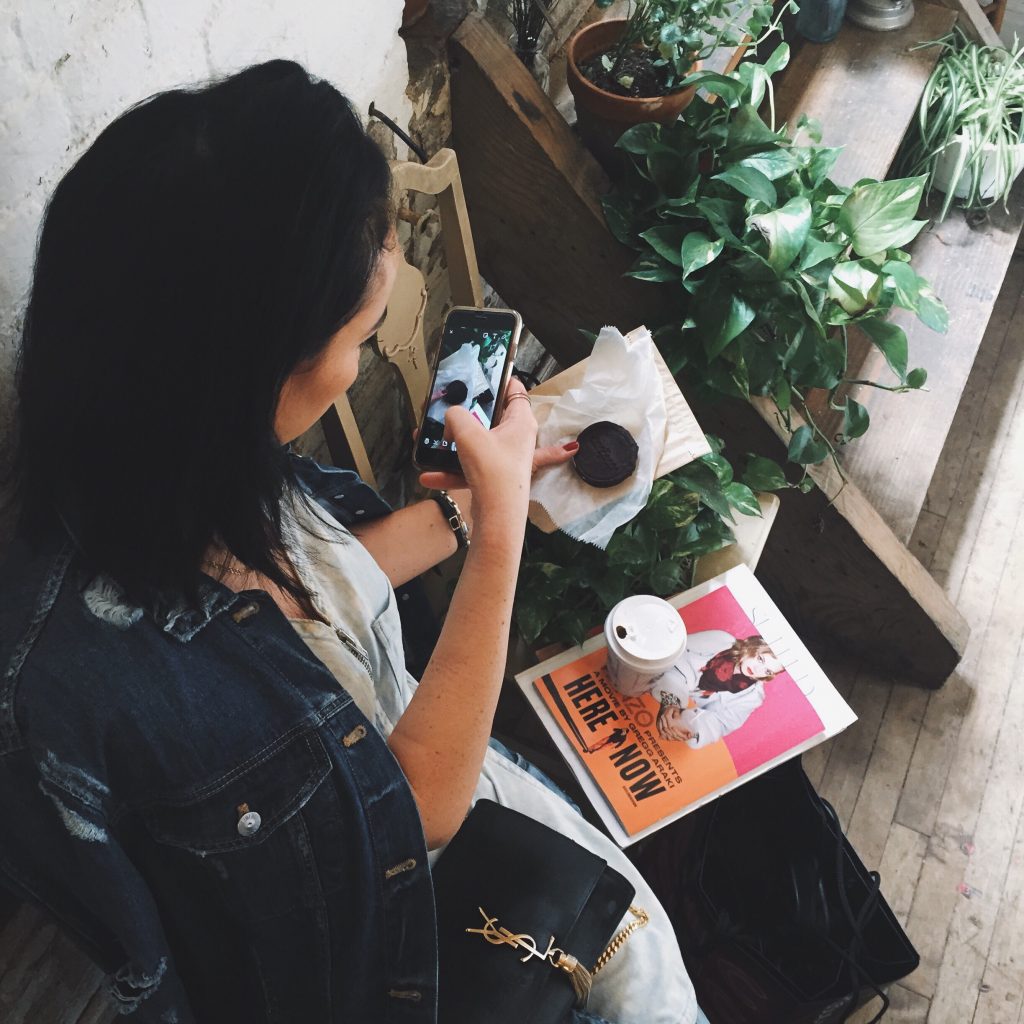
Q: What’s almost as delicious as a gooey chocolate chip cookie? A: An amazing picture of one. Chocoholics, consider yourself warned! Food photography has always been a popular pastime, and the advent of platforms like Instagram has pretty much made it an obsession.
Hashtags like #instayum let photographers show off their best food photos to leave all of their followers drooling. If you want to build up that longing in your followers’ taste buds, you need to make sure that your photos capture every detail and really bring the meal to life visually. An important step toward doing this is learning what works (and what doesn’t!) for food photography.
Hot Food Photography Tips
Though it might not be evident at first, there are actually a number of differences between food photography and other types of pictures.
This goes beyond the obvious fact that a bowl of soup is not a baby or a mountain top; aspects such as lighting and even time can affect the way food appears in static imagery. Whether you’re new to photographing food or you just want to kick your next #Instayum pics up a notch, it never hurts to pick up a few extra tips to ensure that your photos are delectable. Here is our baker’s dozen of food photography tips; dig in!
Know Your Subject
It’s not exactly a trade secret that different foods cook differently.
What many photographers don’t think about is how the cooking process can affect the way that different types of food look in pictures. Food may look different in color and volume depending upon how recently it emerged from the oven or stovetop. Learning the chemistry of how different foods cook helps you plan out a food photo in advance and ensures that you can pick the lighting, accent colors and other details that are essential to getting the best shots of your meal.
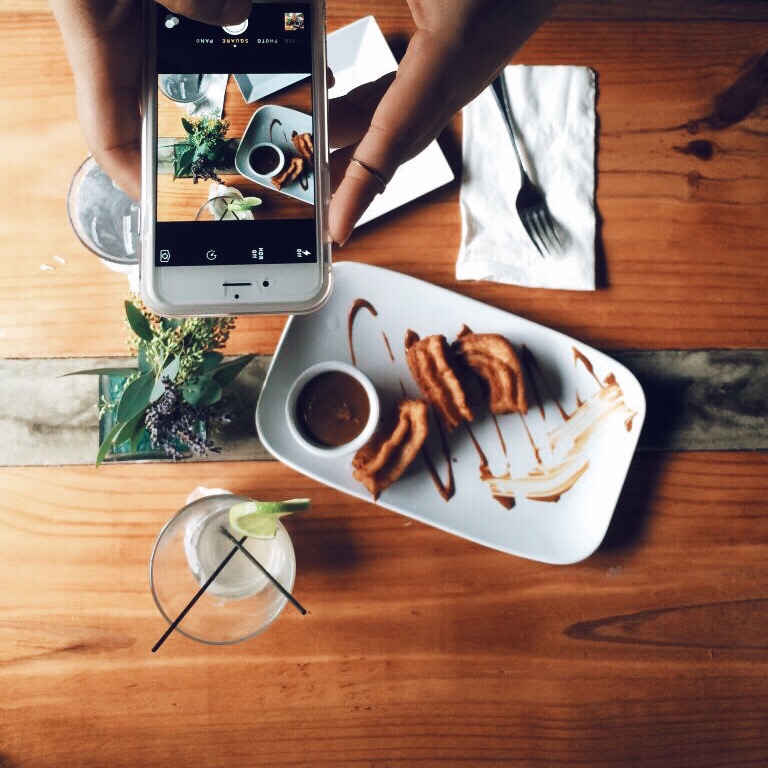
Find the Right Angle
Having the right angle for your shots is vital for food photography. That’s why you’ll see so many overhead shots of the perfect plate on your IG feed.
To ensure that you get the best possible shot, you need to think in three dimensions, picking the right angle and height to capture the food, the plate and any other features that you want in the photo. Don’t assume that the same point of view will work in every shot, though; if you really want to impress, you should try different angles and points of view to make sure that each picture is memorable and unique.
Timing Is Everything
For a lot of subjects, you’re free to set things up and take as long as you need to capture the perfect shot. It might take dozens of takes to get that portrait or landscape exactly right.
That’s not always the case when you’re taking pictures of food, though. One of the most important food photography tips you’ll ever come across is that you need to keep the food’s “freshness window” in mind. In most cases, you have maybe 20 or 30 minutes to get all of your shots before your food has completely lost its luster. With some foods, the window is even smaller. You’ve got to plan your shots in advance because once you’ve finished cooking or prepping, you’re racing against the clock to get plated and get your pictures. (The downside of this method, of course, is that by the time you’ve captured your dish in all of its delicious glory, it’s probably a lot colder and dryer than it was when you first got that camera out!)
Control the Lighting
Having the right food photography lighting is essential to getting the right shots.
You can use natural lighting, artificial lighting, colored cards to adjust how the light looks when it hits your food… there are a ton of options available. Take the time to consider exactly what you’re fixing and how you want it to show up in your pictures, then think about how different lighting options will aid you in achieving that. This can be one of the hardest parts of planning your shots, but the work you put in now will pay off in the end.
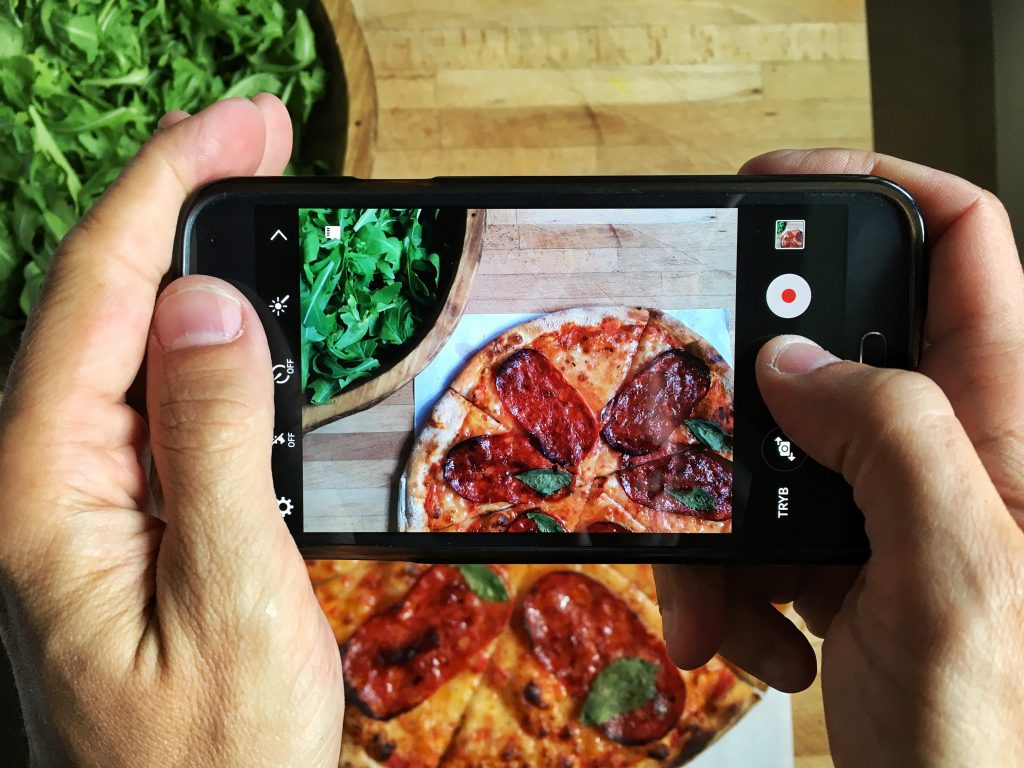
Go for the Close Shot
There’s more to food photography than just taking pictures of plated meals.
If you really want to make your followers hungry, then you sometimes need to get in close and let them see exactly what they’re missing out on. After all, pretty cupcakes will delight the eyes but it’s that close-up shot of a broken-open bite that lets the viewer see exactly how moist and luxurious those buttery cake crumbs are. Posting occasional close shots will provide some variety in your photo stream as well.
Make the Food “Pop”
Even if not much of it will show up in your pictures, having the right background is an important part to nailing that irresistible #Instayum look.
You want a background that will contrast against your plates and food without clashing. Neutral colors, dark tablecloths, stained wood and a variety of other options can help you place your culinary masterpiece front and center in the photo. Even details such as patterns or other designs in the background can help you with your framing since the plate you use breaks up the pattern. That way, the delectable goodies on the plate will naturally draw the eye and hold the focus of your viewer.
Embrace the Process
Eating is all about the finished product, but food photography is a story with a beginning, middle and end. Maybe it started with a small bowl of sea salt along side a soft hill of flour, progressed into a gooey dough and ended up a warm, fragrant loaf.
To capture the complete experience of transforming a bunch of disparate ingredients into a delicious final product, take pictures that showcase different parts of the creation process. Try including close-ups of fresh herbs being cut, ingredients being measured, soups being stirred or garnishes being added. These photos give your followers some insight into your process and the appearance of hands chopping or floury dust on an apron also adds a distinctly human element, which can make the whole thing seem even more appealing. Incorporate a mix of candid (or semi-candid) shots and staged photos to really drive home the appeal of your cooking. Seeing everything that goes into making a meal will make the final product look all the better.
Don’t Fear the Tripod
There are a few food photography tools that you’ll make use of when taking your shots, but one of the most important is the humble tripod.
If you’re not used to using a tripod, you might wonder how much of a difference one can make, but with a bit of practice you’ll never want to go back to not using one. The right tripod can ensure that you get the exact angle you need for your shot and allows you to make adjustments to your plating and presentation without having to find your shot again. A good tripod will also make it easier to work within your freshness window since you can position the camera before food has even finished cooking.
Focus on the Details
One mistake that a lot of people make when they first dig into food photography is that they try to capture the entire presentation without giving thought to the finer details.
The best food photos actually focus on the details of the food instead of trying to capture a complete meal or dining table spread in its entirety. Focus in on that little dollop of icing or the creamiest part of that melted cheese. Put the steaming baked potato front and center instead of the steak. Let the seasoning on your broiled fish dominate the rest of the picture. Choose the details that you want your picture to be about and then let everything else unfold from that point.
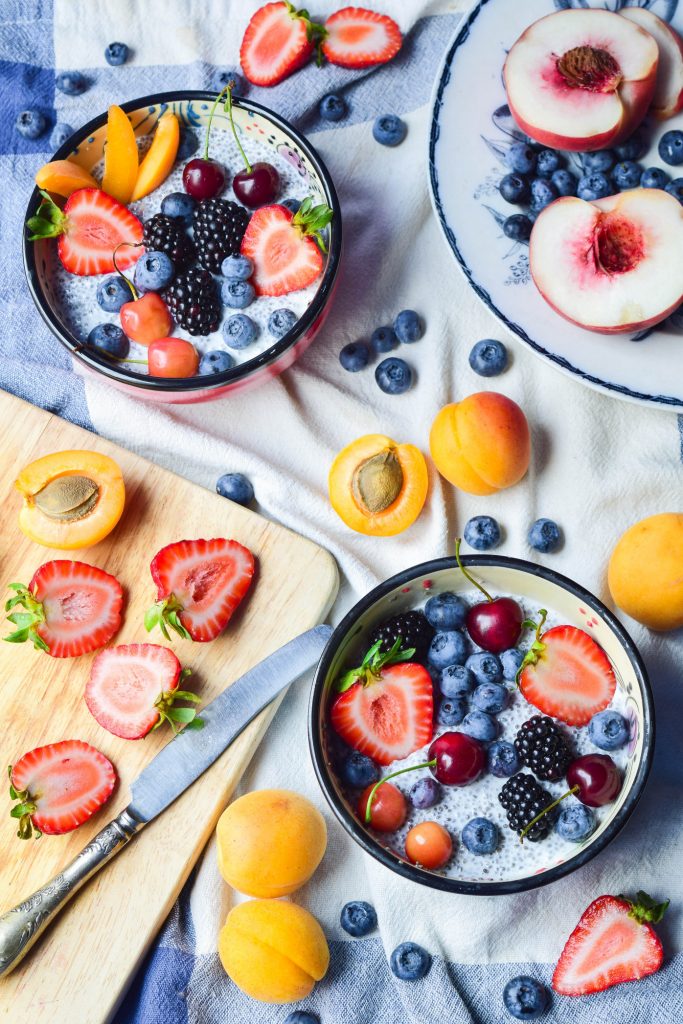
Capture the Color
Food comes in a glorious assortment of colors, and you can use that to your advantage.
By utilizing color, you can create a theme across a plate or an entire meal. Plan out your shot and use greens or reds or other shades in the food and on the plate to really tie everything together. Just make sure that you actually match the colors you’re using, since having a few near misses close to each other can hurt the look of your pictures more than it helps. The last thing you want is for viewers to be too distracted by four different shades of green to notice how tasty everything else in the picture looks.
Give It a Spritz
If you really want to drive home the freshness and flavor of your food, don’t be afraid to give it a little misting.
A fine spray of water over leafy vegetables can make them appear fresher, while a light brush of oil over peppers or similar veggies can crank up the gloss and make them look even riper. Think about what you’re going to take pictures of and how you can make the various items look like they’re at peak freshness and bursting with flavor.
Avoid Overcooking
Though the goal with most recipes is to make sure that your food is perfectly cooked, if you’re planning on taking pictures, then you’ll want to aim just a little bit below that.
By undercooking your food slightly, you can help ensure that it stays fresh looking and juicy longer. Most food continues to cook for a few minutes after being removed from the heat and plated, too, so a little bit of undercooking will help ensure a more perfect overall outcome. If need be, you can even pull things early to get the perfect picture and then return them to heat to finish cooking afterward.
Be Stingy with Edits
For most types of photography, at least some editing is expected as a part of the photography process.
With food photography, though, a lot of editing is frowned upon. You want your followers in awe of the food you present, and if it’s obvious that your photos were edited then it’s easy to assume that the food only looks so good because of digital magic. This isn’t to say that you can’t edit your pics at all, of course; simply try to rein in your editing and keep your edits as unobtrusive as possible. Only make those edits that are absolutely necessary and forget the rest.
Don’t Forget to Share
Once you have the perfect shots, it’s time to share them with Instagram and any other platforms that you’re active on.
Pick the best photos, post them with the right hashtags and send them on their way. A lot of work goes into food photos, so remember to take pride in your end results.
Once you’ve rounded up a delicious batch of photos that are winning all the hearts on social media, consider compiling them and their accompanying recipes into a stunning, premium-quality recipe photo book you can share with generations to come. It’s the perfect gift.