Reading Time: 8 minutes read
Hiking and photography go hand in hand. Being in nature allows us decompress from the work week, connect with friends and family, and simply enjoy the experience of being. Photography, in turn, can help us capture these positive feelings and share our unique point of view.
But it’ll take more than a couple quick shots to do nature’s beauty justice. We have to prepare for the hike ahead.
Be prepared
Devise an action plan a day or two before your expedition. This is a good idea for any hike, but a must if you plan to throw in some photography since it adds to the potential gear and time required for a fulfilling day.
Your plan should have all the following:
- Know exactly where you will hike
- Study the terrain, possible weather, and round-trip distance
- Calculate the time you will need for hiking and photography
- Have a departure and return time
- Share this plan with a friend or family member
That last one is important. Things can go wrong, especially if your route is not well maintained or contains hazardous terrain. If something does happen, having someone who can call for help may make all the difference.
Pack your gear
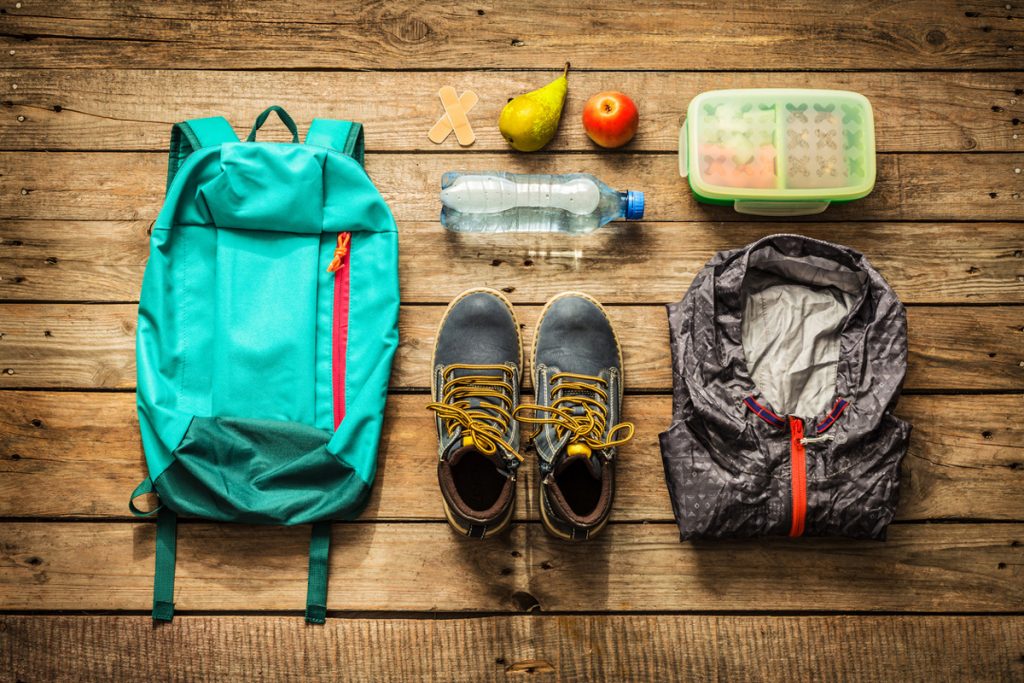
With your plan set, you can now assess what gear you’ll need. Check for any changes in the weather forecast the night before, and pack accordingly. Things to consider include:
- Comfortable hiking shoes—an absolute must!
- Clothes to match the weather. Bring layers to take off and put on should things change
- A snack and water. Bring extra water just in case
- Photography gear and extra batteries
It’s best practice to pack everything the night before and test the weight. You’ll be carrying everything uphill and down, so make sure you can manage the load the whole day. And remember the cardinal rule of hikers, campers, and even glampers: If you pack it in, you must pack it out.
Carry that tripod?
When packing your gear, give extra attention to your tripod. Tripods are great for reducing camera shake and snagging some exceptional pictures. But they can be heavy and cumbersome. Should you bring it? The answer will depend on your tripod and personal comfort.
Can’t manage the tripod? No worries. Try shooting in HDR mode with your smartphone. Camera users will want to consider a wide-angle lens and using a slower shutter speed to add depth of focus.
(Preparation is incredibly important. The better prepared you are, the more comfortable you will be, the better an experience you will have, the more you can focus on your passion.)


Stay observant
When you start out, have a couple of shots in your mind’s eye that you absolutely want. These can help motivate you up those steep slopes. But remember the true joy of nature photography is in its spontaneity.
Let nature do its thing, and be on the lookout for photographic possibilities. When you find a stunning subject, walk a bit out of your way to explore it from different angles. Then consider different vantage points. A mountain range may be awe-inspiring in-and-of-itself, but some field grass in the foreground can add context and a sense of scale.
Whatever you do, don’t get “trail-tunnel vision.” This is when you become so intent on the hike you only look forward. Instead, look behind you, above you, and to the side. This way you’ll get the panoramic scope of all nature has to offer.
Be mindful of the micro
Hiking photography is great for sweeping mountain ranges, vast deserts, and giant breakers crashing against the beach. We love such photos, too, but don’t forget to get low and snap some shots of nature’s smaller attributes.
Consider the mandala-like patterns the wind paints on sand dunes, the opalescence sheen of the light in an open seashell, or a snail relaxing on a bed of moss.
These images can be difficult to spot and properly frame. To seek them out, hike with a quiet mindfulness. Training your eye to spot such moments can be difficult, but the efforts are worthwhile.


Get some action shots
If you’re hiking with friends and family, you’ll want to include them in your memories. We find the best way to do that is with action shots.
One of our favorites is to stay behind and get everyone walking the trail. Conversely, you can hike ahead and snap shots of everyone coming down a rocky slope or across the bridge. And let’s not forget the destination selfie.
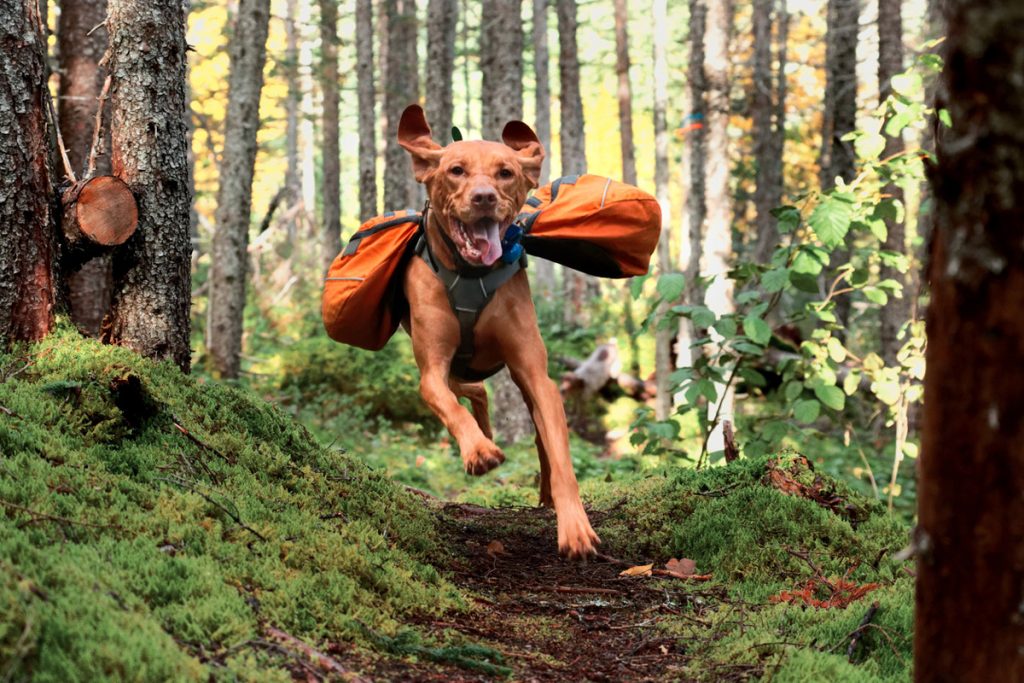
Animals provide opportunities for great action shots, too, but you’ll need to be quiet to take advantage. Creatures can be wary of people and don’t make their way to well-trodden trails very often. Be on the lookout and have your camera at the ready if you want to capture the moment one crosses your path.
Work with the sun, not against it
The sun can be a boon or a bust. The best light for hiking photography will be either at the beginning or end of the day. Called the golden hour, the light diffuses across the landscape evenly and enlivens everything in a warm glow. It’s absolutely perfect for those grand landscape shots.
On the other hand, midday light, which is harsh and comes in directly overhead, is the least flattering.
Here’s the rub: Unless you get up super early or stay out late, chances are you’ll miss the golden hour. Most of your hiking will take place in the middle of the day.
Let’s not fret though. Plan your hike at whatever time of day you find most comfortable and work with whatever light the sun furnishes. If you find the perfect picture, take it. It will still be memorable, and you can improve it with some editing—potentially making an average photo into something exceptional.
Less is more
One temptation of hiking photography is the desire to capture everything in a single image. While this strategy can work sometimes, it often results in visual cacophony.
Instead of making everything equally important, pick an element and make that your focal point. A helpful technique is the rule of thirds. Image two vertical and two horizontal lines evenly splitting up your frame into nine boxes (or simply go into settings and add them to your screen). Place your subject at one of the four intersection points. This will draw the viewer’s eye to your subject and make it feel like a natural focal point.
Safety first and foremost
Above all else, keep safety in mind. Don’t try to walk, talk, and take pictures. It’ll will make you blind to obstacles in your path. Stop and line up the shot with firm footing. And please don’t hang over a ledge or climb where it is unwise. It’s better to let a photo go than to find you’ve gotten yourself into a dangerous situation.
Bringing nature indoors
With your hike a resounding success, it’s time to save your photos and figure out what to do with these lovely nature shots. We recommend designing a photo book of your favorite hiking spots.
With Motif’s wide range of options and user-friendly tools, you can create a photo book that speaks to your experience, and its extensive themes selection means you can find something that complements your favorite hiking spots, whether forest, desert, oceanside, or mountainous.
However you experience nature, Motif is there to help you capture those experiences for years to come.